Saturday 26 January 2013

Another week gone by

After the relative success of last week I don't seem to have completed much this week. Tempus Fugit & all that.


I did get another mono printed birthday card out on time, amazing! I drew into it a little, quite pleased. Blurred, sorry - why did I miss the sunshine we've had all week & leave taking pics till the winter dark set back in?

Had a fabulous session  at college, tho, some printing at last (it was only week 3) But so exciting, you really feel you've achieved something.


I didn't take my camera but I brought these 3 home as they were dry but must have left 15 plus prints drying pinned to the wall. They are all from just cleaning the block, the middle one removing the last traces of ink & the top in black & the bottom in blue ink after adding turps all over, ok & patting it about a bit ;)


 These 3 pics are sitting on my registration sheet, I've got to bring a new one in as I got carried away & was rolling ink on the block on it by mistake.... Some nice marks I can use tho.

 I was asked to show teach my sketch book from the first class so I got the  bits together which have been floating about within the cover for 2 yrs & stitched it all up quite neatly. I'd written the date as 2011 of course, so I found an 'E' from a practice plate print from last time, turned it upside down, hinged it for some reason (?) & it became a 3


I also drew my fish out in the section for this course - see the pretty tab? - semi traced from the tracing.....going backwards, I know


& paper clipped in my tracing & rubbing - closed neatly, above


 un clipped & pulled out, above


I was asked to show the Chine Colle practice from last time to the class - I love show(ing off) & tell!

I added a Valentine heart card to my Etsy Shop - I really must make some more. I started a landscape drawing but didn't get very far & I started a small stripped fabric hanging but got overwhelmed with finding anything in my now messy second studio.... Maybe I'll have better luck next week!

Saturday 19 January 2013

Finally a heron!

  It's been a struggle, plenty of procrastination going on, but I finally got a couple of herons out.


2 slightly different variations. They both use mono printed  & painted papers. The top one has a paper 'reverse applique' half moon, a cut out heron & a double swipe with my tree branch screen ordered & kindly made by Linda Stokes. I've hopefully 'repaired' the smudges made when I 'squashed' the 1st swipe with the 2nd swipe - you live & learn. I used printing medium to drop the Brusho powders into which keeps the ink 'open', but then it takes an age to dry.... I love the jumble of branches, which is what I saw, of course, but I kept the 2nd one to a single swipe.

The 2nd version has a full moon - that's called artistic license, isn't it? made from some packaging & a paper 'reverse applique' heron. I've drawn in highlighting the heron & the edges of things & had to add a bit of gold wax stick here & there. Then I stitched around, just a little. They're both about 5/6" x 12" or so.


 When I washed my screen the 1st time I was gutted to watch a beautiful indigo run down the sink. I was ready the 2nd time with a bit of paper, just to catch the color. The white seems to have gone pink.

 I took a pic of the background before going further - I liked the paint over glue resist - only because I'm a messy gluer & the 'prints' you can get from the remains on the pallet.


Additions to the sketchbook page - I'll stitch the sample soon as it was still wet - I'd dried the 'real' pieces over the heater. I tried out a few different moons & used them to illustrate my observations of looking up at the half moon at every opportunity - the daytime half moon tilts forward, the evening one is straight up & down & the night moon rests back a bit. I must look out for the morning one.


A visit from 18 Greylags right in front of the house - i feel a goose coming on ;)


Beach combing in bitter winds but quite exhiliarating. Above is the back (I've decided) of a lid of some kind -  I'll take a proper pic for a background.


 The front - see the beady 'eye' in the 1st one? I'd have to turn it round as above. Don't do eyes.


This wonderful piece is about 1 foot by nearly 3, lovely.


There's a lot of activity with the Great Tits & Coal Tits in the garden, I think I saw a Blue Tit a while ago so I asked the DH would he kindly empty the box of the old nest - no maggots this time! Delighted to see the use of lime green & blood red fibers, along with sheep's wool; birds after my own heart.

No snow pics for me, I'm so jealous! Wrap up warm & enjoy your snow days if you have them.

Saturday 12 January 2013

Monoprinting & a Printmaking Class


Made some more prints in the week using a variety of papers this time, above - printer paper & in the middle a peacock end feather  resist on a Bible page, the little Bible I rescued from the floor at work when we had a charity bookshelf.

brown paper & gesso with my lovely fennel seed head, book page & gesso with the ghost print of fennel, another ghost print of fennel inside an un-crispy fern resist on cartridge paper & more practising on brown paper. 


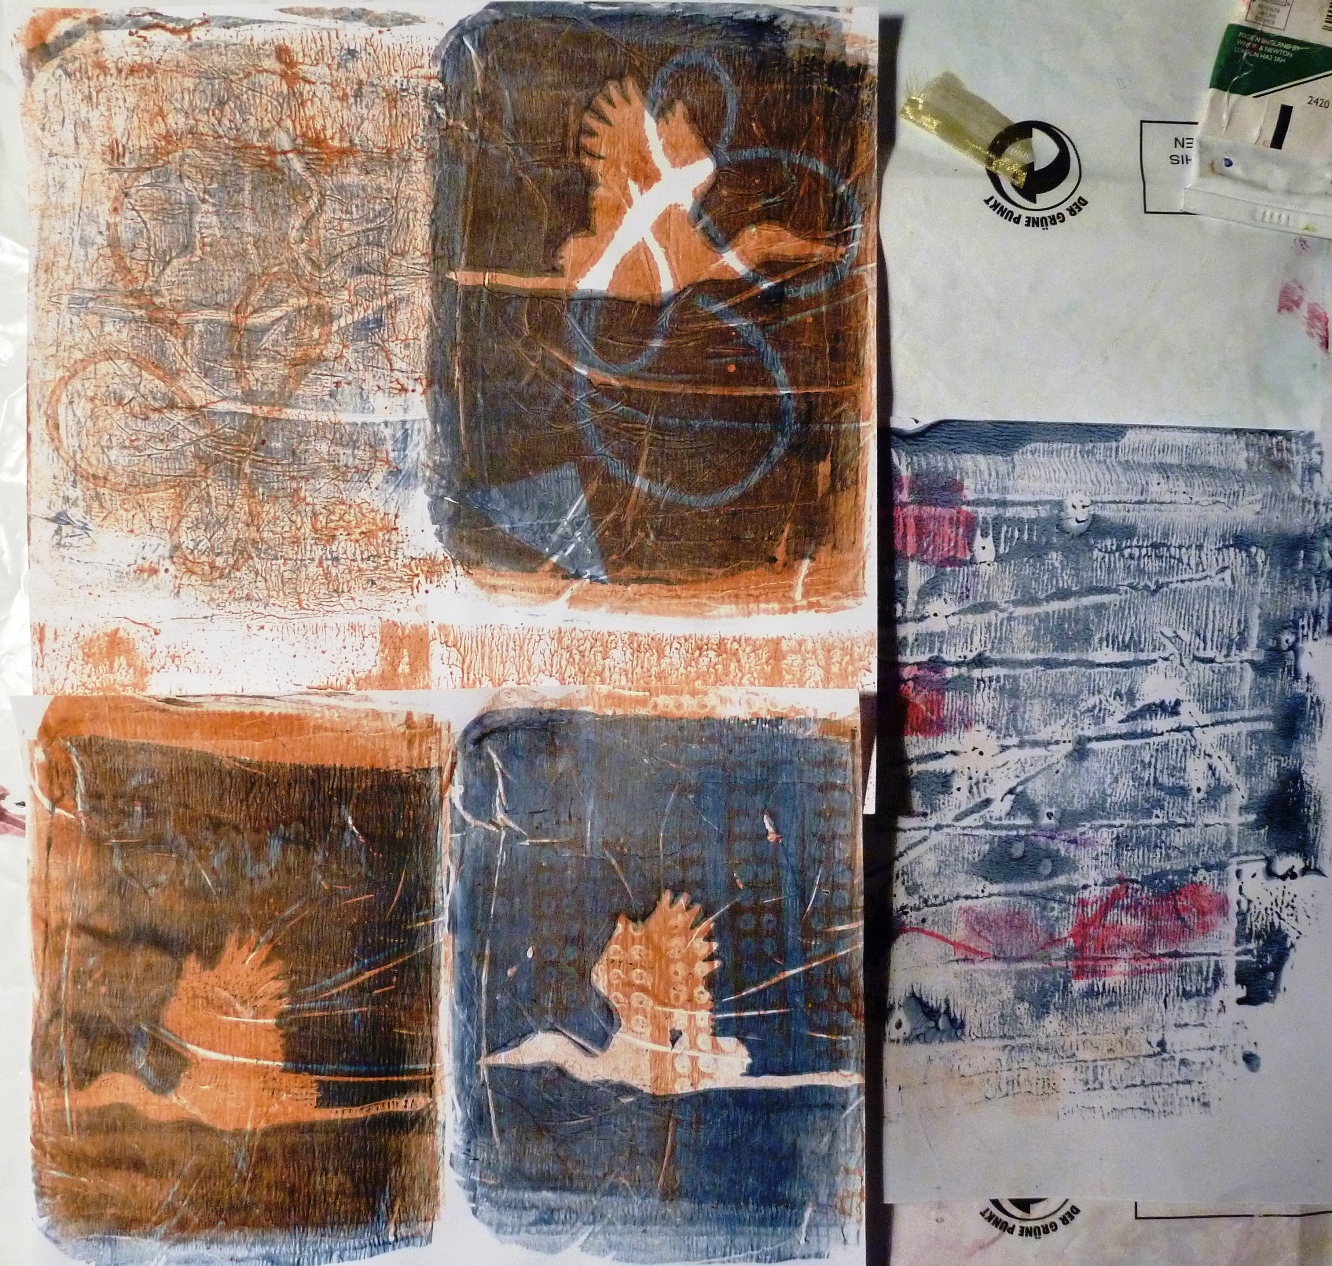
 More undefined ferns on book pages - wrong paper, too old plate, mix of ink? I'll have to keep practising :)


 Tools of the trade - Corrine had a link on her page to Carolyn at a Colorful journey who works with 'Gelli' plates & she used something that was described as 'shutters' & I thought I was sure I'd seen some 'packaging' at work that would give a 'shutters' effect. So I had a look - there on the shelf, helping a row of inter dental brushes to stand up neatly in the toothpaste department was a tiny tray, above, top right. Perfect, I thought ;) Typically, I don't seem to have included a sample print.


 These above show the deterioration of the plate, the first is just paint , no shapes, the next a week fern & the last a more distinct end feather & thyme seed head. 


So I stared my Printmaking class again - this is the one I started 2 years ago at West Highland College & the teacher had a bad car accident - it's taken her 18 m to get back to work part time, but this class is being run by another teacher. We got straight into choosing an image for lino printing. I was looking thru a book by Picasso & the image below the fish is what grabbed me but after roughly drawing it I just imagined how many lines I'd have to cut, too many for the first one!


 The top fish is inspired by a watercolor fish I saw in the Picasso book, mines nothing like it, I just thought 'fish'! I drew straight on to tracing paper, didn't even notice then the fish above is 'rubbed' onto the lino by tracing over the tracing paper drawing. I'll define it a little more then cut. I started out thinking I'd leave my drawn lines as the inked part, half way thru I decided I'd cut out the drawn lines so they'd appear white, or whatever color the paper is. Not trying to save my joints, or anything ;) Love taking an open mind to these classes.


from  Three Acrobats, Picasso

I tried to draw a seagull from one of the books - it wasn't moving! if you put your finger over the leg it's a perfect seal - I'm coming on.


This is the sketchbook I made last time, got very excited when we got to the printing stage by taking prints, well just picking up paint, really, when the others were cleaning their plates. Well, why waste the ink? I think teach thought I was mad.


some intriguing Chine Colle, above I thing I got the glue on the wrong side but I like the effect.


Mono printing, the first one is drawing from the back, the 2nd on the plate


 ideas for my lino

The layout i used - teach told me i was getting my money's worth with this one (gulp!) this time I've kept simple...I was just so excited 2 yrs ago, that when we were asked for an image for the following week I ran into the garden & drew anything I could find, desperate. I was so proud to be drawing 'real' things for the first time & amazed at where it all lead me. so I'll take the sketchbook to class once I've added a few pages for this class & add my sketches. There's a section for handouts & instructions, too. I want this class to work for me. such fun to be 'back at college' & getting a little guidance along with other like minded people.

Saturday 5 January 2013

Monoprinting with a gelatine plate

 I've had a box of Gel sachets in the cupboard for a couple of years now (& they aren't even out of date!)


I've had them as long as I've been enjoying the blog & fantastically informative videos of Linda Germain of Printmaking Without a Press. So exciting to be finally doing this! Using 2 layers of my fave colors, a carved polystyrene block - the diamonds,  right, you can see the marks just from the cling film that was under the gel plate while setting, then comforting grasses a la LG & the good ol sequin waste.

 Then I got my little heron cut out & used that as a resist - the middle one above is where I stamped the wet cut out into a resisted bit..... On the right above is a serendipity bit, oh & below top.


 Got some brights out as the reason I finally decided to do this now was my SIL's birthday coming up soon. She always inspires me to get this years card on the road. Above is using wool/yarn - & some cards to be at the bottom - they all went a little dark. & you could hardly see the little resist of a feather top left that I cut & anyway it kept curling up!


 This is the card sil will get - I drew into the resist shape & colored with pastels the peacock eye & then just as I stuck it down I had palpitations as there was no stitching! So I peeled it back & added 5 stitches....phew ;) Felt better then. Pleased with my first attempt at printing with a gelatin plate.


Then I went for a walk & chose the above color scheme....or it chose me. I'm always amazed at the variety of seaweeds, there are 5 above - the colors of the top one, lime green & blood red is my favorite today - the burgundy on the right is beautiful, too. I had to add the blue shells & pale smokey green lichen; the yellow lichen lives on the rusted wheel. I don't usually appreciate still life but I do this.


 Using the shell, a dotty piece of found rubber mat & a lid at the top & below the seaweed. I love infilling the resisted bit with the ghost bit. I drew some seaweed on card for a resist as I didn't think the real thing would work so well.


Then I fished out a peacock feather & got very excited! Probably needed to go back to jewel colors.


 The plate cut into a pic size & a 'card' size. It's cracked already, very fragile but easy to make & lasts a week in the fridge.


 This is a bit of plastic used a a pallette - I can see it being cut up in the future.